All Posts
Mastering the Art: DIY Vine Trellis Techniques for Green Thumbs
Why DIY Trellises Rock
Making your own vine trellis isn’t just a fun weekend project; it’s a game-changer for your garden. Whether you’re working with a tiny urban plot or a sprawling backyard, a DIY trellis can help you make the most of your space, boost your plant yield, and keep your greenery healthy and happy.

Making the Most of Your Garden Space
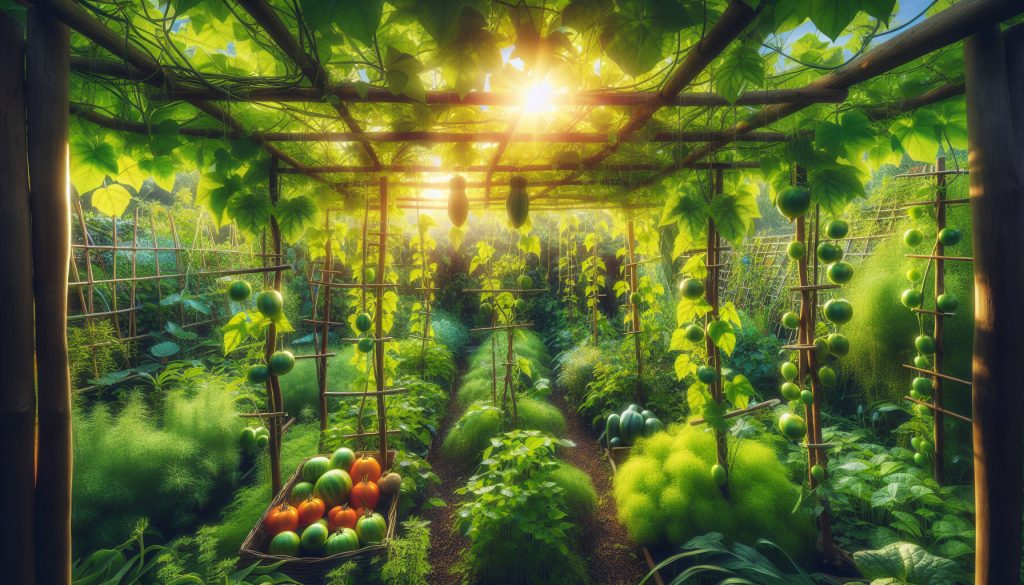
Trellises are like magic wands for small gardens. By training plants to grow up instead of out, you free up ground space for more plants. This is a lifesaver if you’re gardening in a cramped area. Think about it: a DIY cucumber trellis or a DIY tomato trellis can turn a tiny plot into a lush, productive garden.
| Benefit | What It Does |
|---|---|
| Space Saver | Plants grow up, not out |
| Versatile | Works for cucumbers, tomatoes, peas, and more |
Boosting Plant Production
Trellises can seriously up your garden game. By using vertical space, you can plant smaller crops underneath your climbers, making every inch count (Gardenary). This layered approach not only increases your yield but also creates a more diverse garden.
| Plant | Production Boost |
|---|---|
| Tomatoes | 20-30% |
| Cucumbers | 25-35% |
| Peas | 15-25% |
Keeping Plants Healthy
A good trellis does more than just save space—it keeps your plants healthy. Better air circulation means less mold and mildew, and more sunlight helps fend off pests. Plus, trellises give climbing plants like tomatoes and beans the support they need to grow strong.
| Health Perk | How It Helps |
|---|---|
| Airflow | Reduces mold and mildew |
| Sunlight | Keeps pests away, boosts growth |
| Support | Helps climbers grow strong |
For more tips on using trellises, check out our guides on DIY pea trellis and DIY trellis for climbing plants.
In short, DIY trellises are a win-win. They save space, increase your harvest, and keep your plants in top shape. If you’re serious about gardening, a trellis is a must-have.
Planning Your DIY Vine Trellis
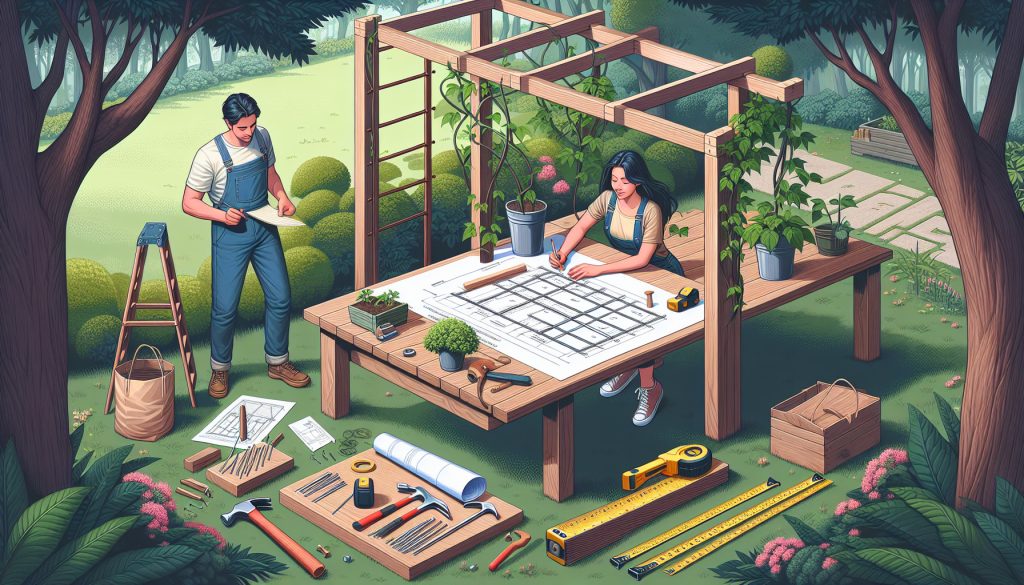
Before you start hammering away, a little planning goes a long way. Here’s what you need to know to get your trellis project off the ground.

Why Planning Matters
Planning your trellis is like drawing a map before a road trip. It helps you figure out where everything goes and what you’ll need. Proper planning ensures your trellis will fit your garden and support your plants (Young House Love).
Tools and Materials
Gather your gear before you start. Here’s a basic list:
- Hammer: For installing anchor points
- Screwdriver: For securing hooks and screws
- Measuring Tape: For accurate measurements
- Wire: To create the trellis structure
- Hooks: For securing the wire
- Climbing Vines: Like clematis or peas
| Tool/Material | What It’s For |
|---|---|
| Hammer | Installing anchor points |
| Screwdriver | Securing hooks and screws |
| Measuring Tape | Accurate measurements |
| Wire | Trellis structure |
| Hooks | Securing the wire |
| Climbing Vines | Bringing the trellis to life |
Visualizing Your Design
Sketching out your design helps you see how it will fit in your garden. Use tools like Photoshop or just a pen and paper to plan it out (Young House Love). Think about where you’ll place it, how big it should be, and what pattern you’ll use.
When designing, consider:
- Placement: Where it will go
- Size: How big it needs to be
- Height: How tall it should be
- Pattern: The design of the wire
For more planning tips, check out our guides on DIY cucumber trellis and DIY tomato trellis.
A well-thought-out plan sets you up for success. With the right tools and a clear design, your trellis will be both functional and beautiful.
Building Your Vine Trellis
Now that you’ve got a plan, it’s time to get building. Here’s how to bring your digital design to life, mark your anchor points, and install them.
Bringing Your Design to Life
Transferring your design from paper to your garden wall takes some precision. Measure and mark key points based on your sketch. Use a level and yardstick to keep everything straight. This step is crucial for a successful DIY vine trellis project.
Steps:
- Measure the height and width of your trellis area.
- Draw straight lines on the wall with a level.
- Mark where the anchor points will go.
Marking Anchor Points
Accurate marking ensures your trellis is stable and looks good. Use tape as a visual guide and double-check your measurements.
Steps:
- Place tape at each mark.
- Double-check measurements.
- Mark exact spots with a pencil.
| Tool | Purpose |
|---|---|
| Level | Keeps lines straight |
| Yardstick | Measures distances |
| Tape | Visual guide |
Installing Anchor Points
This step requires careful drilling and securing. It’s what holds your trellis together.
Steps:
- Drill shallow holes at each mark.
- Insert plastic anchors.
- Screw in eye hooks.
For detailed instructions, check out Young House Love.
| Tool | Purpose |
|---|---|
| Hammer Drill | Drills holes |
| Masonry Bit | Creates holes in brick or concrete |
| Plastic Anchors | Secure attachment points |
| Eye Hooks | Anchor points for wire |
For more DIY trellis ideas, explore our guides on DIY cucumber trellis, DIY tomato trellis, and DIY pea trellis.
Building the Wire Trellis
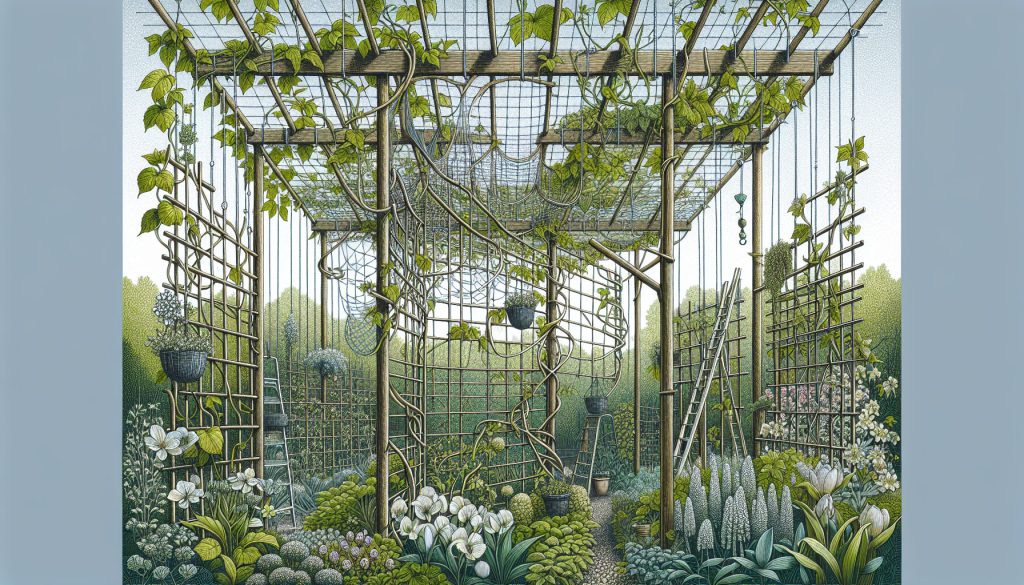
Creating a wire trellis is a rewarding project. It supports your plants and makes your garden look great. Here’s how to choose the right wire, string it, and create a diamond pattern.
Choosing the Wire and Ferrules
Pick sturdy materials for a durable trellis. 1/16th galvanized steel wire rope is a good choice. It’s strong and rust-resistant (Young House Love). Use aluminum ferrules to secure the wire ends.
| Material | Use |
|---|---|
| 1/16th Galvanized Steel Wire Rope | Main cables |
| Aluminum Ferrules | Secure wire ends |
| J Hooks and Eye Screws | Anchor points |
| Turnbuckles | Tighten the wire |
Stringing the Wire
Attach the wire to anchor points using ferrules. Thread the wire through the ferrule, create a loop, and pinch it shut. Make sure the wire is taut and secure.
Steps:
- Attach wire to anchor points.
- Thread wire through ferrules.
- Create loops and pinch shut.
Creating the Diamond Pattern
A diamond pattern looks good and supports your plants. Here’s how to do it:
- Measure and Mark: Ensure even spacing.
- String the Wire: Create diagonal lines.
- Cross the Wires: Form a crisscross pattern.
- Secure the Intersections: Use ferrules or eye hooks.
For more design ideas, check out our guides on DIY cucumber trellis and DIY tomato trellis.
By following these steps, you’ll have a sturdy, attractive wire trellis that supports your plants. For more DIY trellis ideas, check out our guides on DIY cucumber trellis, DIY tomato trellis, and DIY pea trellis.
Planting and Maintaining
To make the most of your trellis, choose the right plants, train them properly, and keep them well-watered and mulched.
Choosing Vining Plants
Pick plants that will thrive on a trellis. Tomatoes, cucumbers, peas, and beans are great choices. They grow vertically, saving space and improving air circulation.
| Plant | Best Trellis Type | Notes |
|---|---|---|
| Tomatoes | Sturdy wire trellis | Supports heavy fruit |
| Cucumbers | Wire or net trellis | Easy to harvest |
| Peas | String or wire trellis | Lightweight |
| Beans | Pole or wire trellis | Heavy yield |
For more ideas, check out our guides on DIY cucumber trellis, DIY tomato trellis, and DIY pea trellis.
Training Vines
Wrap vines around the trellis to encourage even growth. Secure with plant ties if needed.
Steps:
- Plant vine at trellis base.
- Wrap vine around wire.
- Secure with ties.
- Adjust as needed.
Watering and Mulching
Keep your plants healthy with regular watering and mulching. This helps retain moisture and prevent weeds.
| Task | Frequency | Benefits |
|---|---|---|
| Watering | Regularly | Prevents drying out |
| Mulching | As needed | Retains moisture, reduces weeds |
By following these tips, your plants will thrive on your DIY trellis. For more advice, check out our guide on DIY trellis for climbing plants.
Creative DIY Trellis Ideas
Looking for something unique? Here are some creative trellis ideas that add personality to your garden.
Branch and Twine Trellis
A branch and twine trellis is rustic and eco-friendly. Use branches and twine to create a sturdy frame. This works well for annuals like sweet peas (Country Living).
Materials:
- Branches
- Twine
- Scissors
Steps:
- Arrange branches in a teepee shape.
- Tie them together at the top.
- Secure the base in the ground.
- Wrap twine horizontally for extra support.
For more ideas, check out our guide on DIY trellis for climbing plants.
Vintage Ladder Trellis
Repurpose an old ladder into a charming trellis. Attach it to a wall or shed for support. This works great for ivy or Virginia creeper (Country Living).
Materials:
- Vintage ladder
- Screws or nails
- Hammer or screwdriver
Steps:
- Find a sturdy ladder.
- Attach it to a wall or shed.
- Train vines to climb the rungs.
Salvaged Window Trellis
Turn an old window into a unique trellis. Remove the glass panes and hang it on a wall. This is perfect for star jasmine (Country Living).
Materials:
- Salvaged window frame
- Screws or nails
- Hammer or screwdriver
Steps:
- Remove glass panes.
- Secure frame to a wall.
- Train vines to climb the frame.
For more creative trellis ideas, check out our guides on DIY cucumber trellis, DIY tomato trellis, and DIY pea trellis. These unique trellises will support your plants and add character to your garden.

